
Edify Launcher
The edify launcher is your portal to everything edify related – through here you can access:
- Edify, including any lessons you have prepared
- Standalone edify lessons
- Your account profile page
- Our edify support pages
If you have not yet downloaded the edify launcher, you can find our installation guide here.
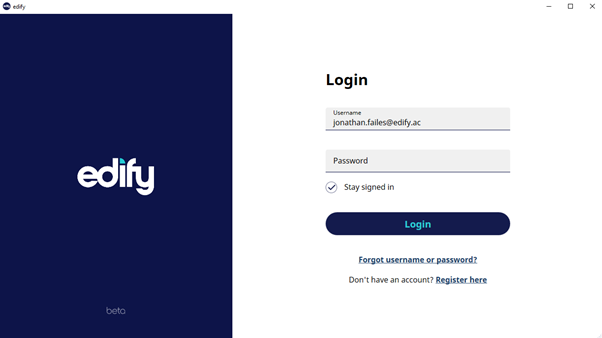
When you first access the edify launcher, you will be asked to log in to your edify account. This shares the same details as the edify member site. If you have not yet created an edify account, you can press the “Register here” button to create one. The guide linked above will walk you through this process. You can also recover your password using the “Forgot username or password?” link.
Upon opening the launcher you will appear on the “Home” page, where you will see important links to support documents and “What’s New” release notes for information on the latest software update.
Licensing
The content you have access to on the launcher will depend on your license. You can see what license you have by looking at the bottom left corner of the launcher. If your account doesn’t have an active subscription you can renew your subscription by contacting support@edify.ac.
Once you have an active subscription - whether you have prepared one yourself, or are accessing an institutional account - you can access all of the launcher features. If your license expires you will be locked out from accessing the Edify software and any lessons you may have prepared previously. But don’t worry - they’ll still be there for you when you renew.
Note: In the beta software version, any newly made account will automatically have a beta license attached to it. If you find you have made an account and still have no license, get in contact with our Support team.
Edify Software
On the bar on the left hand side, you have access to:
- “My lessons”, where you can view and open any lessons you have created using edify or imported.
- “Edify lesson”, where you can access edify software you have previously installed.
- “Updates”, where you can install and update the edify software.
If this is your first time launching edify, you will probably want to navigate to the updates tab, and install the software that is appropriate to you. The orange circle with the number indicates the number of software which require updates.
To install, select the “Install” button beside the software you wish to install. There will be a short download, after which you will be prompted to allow the installer to run. Accept this, and the software will be installed into the same directory as the edify Launcher. The installed software will then appear in the “Edify lessons” tab for you to access.
To update existing software, you can either find it in the list of the updates tab, and press the “Update” button, or use the “Edify lessons” tab instead, and press the update button here.
Options
Aside from accessing lessons, the launcher also provides access to the users account profile page, and the edify support pages. Both of these can be accessed using the buttons in the top right of the launcher.
If you have another account you want to log in with, or are finished working on a shared PC, you can log out of your account using the “Log Out” button also found in the top right.


