DICOM Data
Edify’s DICOM (Digital Imaging and Communications in Medicine) tool is one of our first implementations for handling complex datasets, in this case providing a tool for visualising and manipulating medical imaging data.
You can add a dataset to your lesson the same way as adding any other 3D model – either using the “Add file” button on the lesson editing screen, or the “Import File” button on the Objects tab of the Home Panel. The file will then appear in the Objects tab beside the rest of your uploaded content.

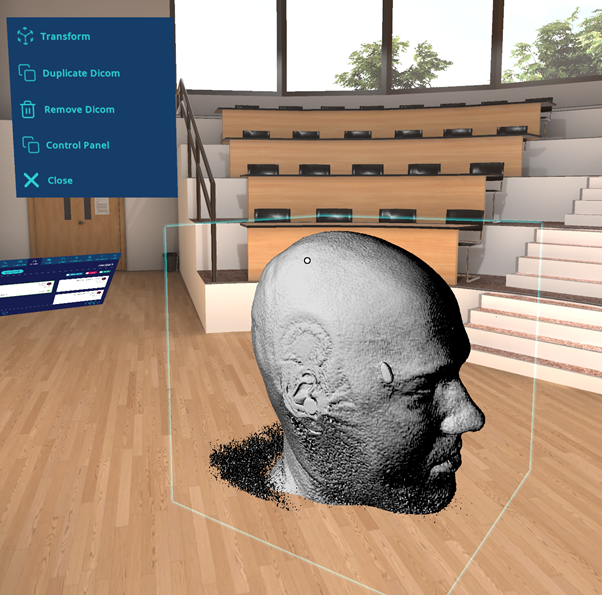
When you select the file, it will open in the scene the same as a normal 3D model, and can be interacted with in the same way. The difference is that, in the context menu (opened by pressing on the model), there will be an option for a “Control Panel”.
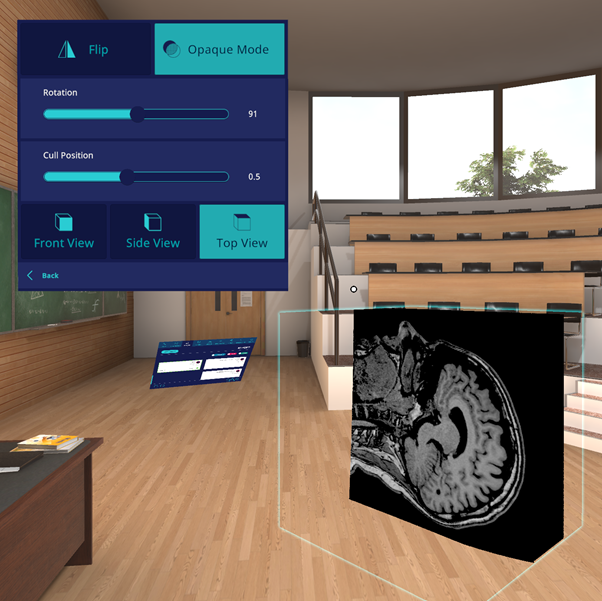
Opening the Control Panel will give you access to the DICOM toolkit. If you move the cull position, you will see one side of the cube is highlighted in yellow. This is where your cull will originate from. You can use the rotation slide to turn the object, enabling you to change the angle of the cull. Use the Cull Position slider to change how deep the cull is.
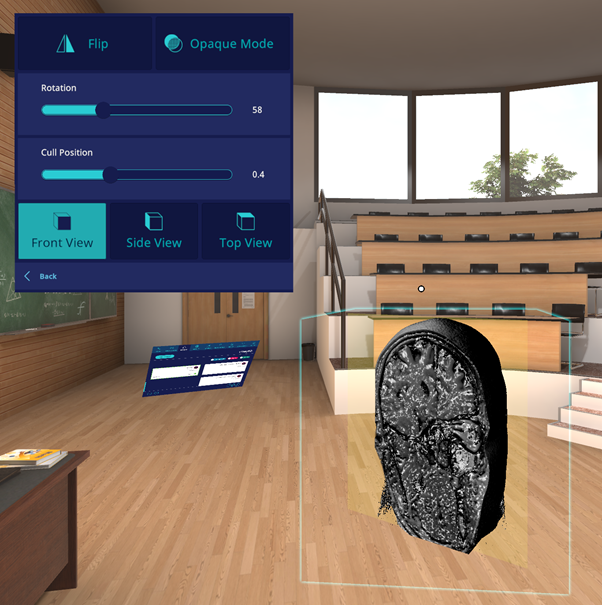
The different views enables you to cull the data from different directions, and can be combined with the Flip button in the top left to enable you to cull from any side of the data.
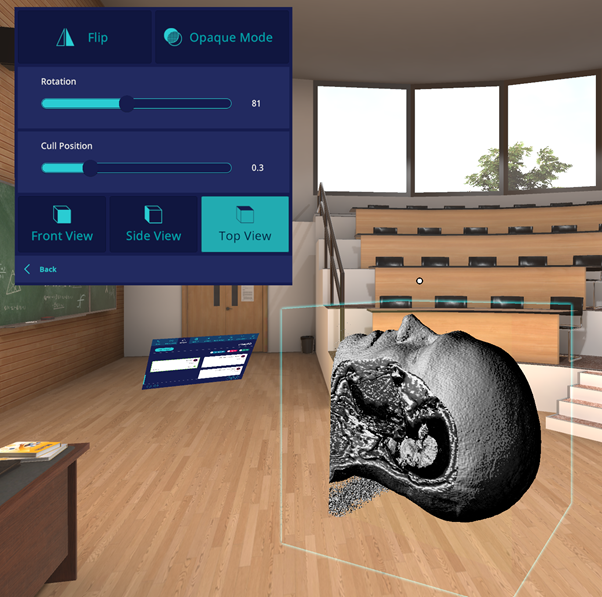
Finally, the Opaque mode turns anything surrounding the data slice black, allowing you to view the data without any surrounding distractions.